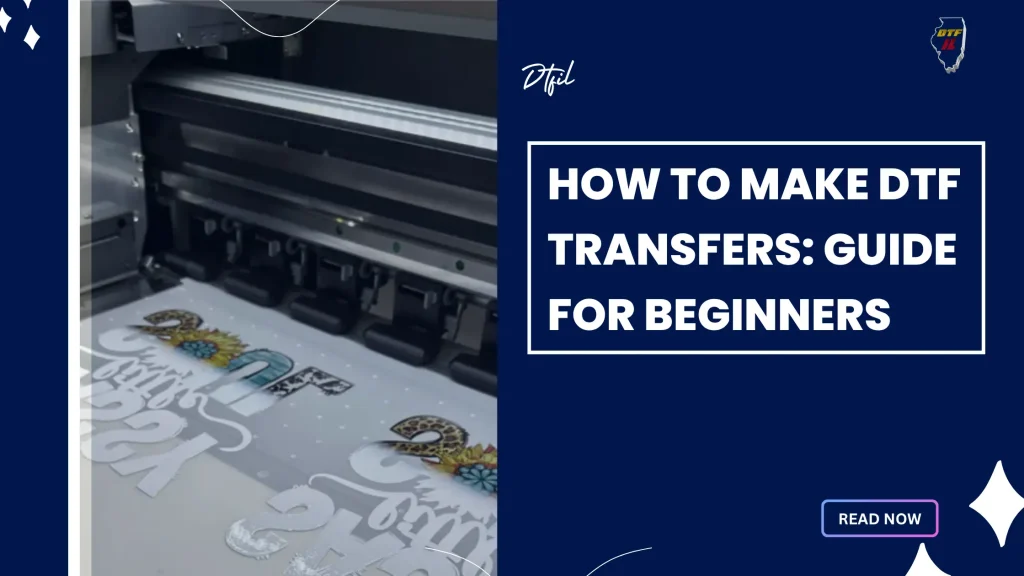
DIY DTF transfers have transformed the personalized apparel scene by blending vibrant color with at-home practicality. This approach sits between traditional screen printing and professional-grade methods, offering a flexible path for crafters, hobbyists, and small brands. Understanding the basics means knowing the right DTF transfer tools, the best DTF transfer materials, and a reproducible DTF printing workflow that yields reliable results. Direct-to-Film transfers enable full-color images with gradients on a wide range of fabrics, from cotton tees to blends used in bags and home accents. If you’re asking how to do DTF transfers at home, this guide provides steps and tips.
In broader terms, this technique is often described as direct-to-film printing on textiles, a film-based transfer method that pairs digital artwork with fabric-friendly adhesives. LSI-friendly variants include film-on-fabric transfers, adhesive-powder workflows, and heat-press compatible designs, all pointing back to the same core idea. Think of it as a digital-to-fabric transfer process: artwork becomes a printable film, then bonds to fabric through heat and pressure. Framed this way, the method supports home-based garment decoration, small-batch production, and custom accessories with sharp detail and color. Whether you call it Direct-to-Film printing, film-based transfer, or a DIY-friendly heat-transfer workflow, the goal remains the same: vibrant designs that endure.
DIY DTF transfers explained: a modern approach to customizable apparel
DIY DTF transfers bring together full-color capability and a home-friendly workflow, offering a practical middle ground between traditional screen printing and high-end digital textile systems. Direct-to-Film transfers let you print vibrant, photo-like designs on a specialized film, then apply them to a wide range of fabrics using adhesive powder and a heat press. This method is appealing to crafters, small business owners, and hobbyists who want professional-looking results without a large studio setup.
Understanding DIY DTF transfers starts with the end goal: durable, color-rich prints that hold up to washing. The process emphasizes a repeatable DTF printing workflow, careful material selection, and disciplined tool use. As you explore, keep in mind how to do DTF transfers in a home or small-shop environment, and look for guidance that walks you through each stage—from design fundamentals to final curing and post-press care.
DTF transfer tools: essential gear to improve consistency and workflow
Having the right toolset makes a noticeable difference in alignment, consistency, and overall print quality. When you invest in quality DTF transfer tools, you’ll find the workflow more forgiving and repeatable, whether you’re producing a single item or running a small batch. Core tools include a dependable heat press with adjustable temperature and time, plus accessories that protect prints and prevent scorching.
Beyond the heat source, consider tools for precision like alignment jigs, rulers, and calibration sheets. These DTf transfer tools support accurate placement and repeatable results across multiple garments. Keeping a clean, dust-free work area and a dedicated curing or drying station also contributes to more reliable Direct-to-Film transfers and reduces reprints.
DTF transfer materials: choosing films, inks, powders, and fabrics
The choice of DTF transfer materials directly impacts color fidelity, adhesion, and durability. The core components—DTF film, color inks with a white underbase for darker fabrics, and adhesive powder—work together to create a printable surface and a reliable transfer. Selecting high-quality film and compatible inks helps ensure sharp details and color accuracy across different garment colors.
Fabric substrates also matter. Light, dark, and color fabrics respond differently to DTF transfers, and you may need to adjust heat, time, or pressure for best results. Understanding how these DTF transfer materials interact with each fabric type—cotton blends, poly blends, and performance fabrics—will help you plan more predictable runs and reduce waste.
DTF printing workflow: from design to garment with repeatable results
A solid DTF printing workflow starts with thoughtful design and color management. Prepare artwork with appropriate color profiles, ensure a white underbase for dark fabrics, and organize placement guides so you can reproduce the same look on each garment. This step integrates with how you manage ICC profiles and printer limitations to achieve consistent results.
The practical workflow continues with printing on DTF film, applying adhesive powder, curing, and then transferring to fabric with a heat press. By documenting temperature, time, and pressure for each material batch, you build a reliable process you can repeat. Emphasize the relationship between Direct-to-Film transfers and the final feel of the print, as well as the post-press care needed to maintain color and adhesion.
How to do DTF transfers at home: practical, beginner-friendly steps and troubleshooting
If you’re new to DTF transfers, start with a straightforward, repeatable sequence that covers design, printing, powder application, curing, and transfer. A home-friendly approach emphasizes safety, organization, and a simple setup that minimizes dust and misalignment. This heading aligns with practical guidance on how to do DTF transfers in a small workshop without sacrificing quality.
Troubleshooting is a natural part of learning the Direct-to-Film process. Common issues include misalignment, incomplete adhesion, and color bleeding. By keeping careful notes on heat, time, and pressure, and by testing on similar fabrics, you can identify the right parameters for each material. This section also covers post-press care and maintenance to extend the life of your DIY DTF transfers and maintain consistent results.
Frequently Asked Questions
What are the essential DTF transfer tools for DIY DTF transfers at home?
Key tools include a heat press with adjustable temperature and dwell time, and a platen size suited to your garments. Add a silicone mat or teflon sheet, DTF film compatible with your printer, adhesive powder with a shaker, and a curing device. Also gather a lint roller, garment rack, clean workspace, cutting tools, design software, and a ruler for precise placement to improve alignment and consistency.
How should I choose DTF transfer materials for DIY DTF transfers on different fabrics?
Choose DTF film and inks that work with your printer and the fabrics you plan to decorate. Pair them with the right adhesive powder and curing method, and consider garment substrates like cotton and poly blends, as heat, time, and pressure requirements vary. Always test on similar fabric to verify color fidelity and durability before committing to larger runs.
What is a reliable DTF printing workflow for DIY DTF transfers?
A reliable workflow includes preparing artwork with color management, printing on DTF film, applying and curing the adhesive powder, pre-pressing the garment, transferring with the heat press at the recommended temperature and time, and following with the appropriate peel and post-press care. Documenting each step helps maintain consistency across productions.
How do Direct-to-Film transfers compare with other methods for DIY DTF transfers?
Direct-to-Film transfers deliver vibrant details and gradients with good durability, especially for small runs, but involve more steps (film handling, powder curing) than basic iron-on methods. They can be cost-effective for low-volume projects and often outperform vinyl or iron-on for complex designs when the proper DTF printing workflow is followed.
What are common issues when learning how to do DTF transfers and how can I troubleshoot them?
Common issues include misalignment, incomplete adhesion, color bleeding, and texture from powder clumps. Troubleshoot by using alignment tools, ensuring even, fully cured powder, verifying temperature and time for each material, and performing small fabric tests to refine the process. Maintain a clean, dust-free workspace to minimize defects.
| Aspect | Key Points |
|---|---|
| Introduction / What DIY DTF transfers are |
DIY DTF transfers offer a middle path between traditional screen printing and high-end custom printing, enabling vibrant, durable designs on textiles at home or in a small workshop. If you’re a crafter, small business owner, or hobbyist looking to print full-color images on fabrics, DIY DTF transfers can be a game changer. |
| How DTF transfers work |
Direct-to-Film transfers print the design onto a special film, apply an adhesive powder, cure the powder, and then transfer the design from the film to fabric with a heat press. This method supports full-color artwork, gradients, and photo-like images, making it versatile for apparel, tote bags, and other textiles. |
| Core components |
|
| Essential tools |
|
| Materials and substrates |
|
| Practical workflow (high-level) |
|
| Tips for consistency |
|
| Common pitfalls and troubleshooting |
|
| Durability and care |
|
| DTF vs. other transfer methods |
|
Summary
DIY DTF transfers open up a world of possibilities for customized clothing and textile projects. By understanding the tools and materials involved and following a repeatable DTF printing workflow, you can achieve vibrant colors, sharp details, and durable results across a variety of fabrics. Whether you’re printing a few personalized items or running a small home-based brand, the combination of DIY DTF transfers, thoughtful tool selection, high-quality materials, and a solid workflow can lead to professional-looking outcomes that stand up to regular wear and washing. Remember to calibrate your setup, test on similar fabrics, and iterate your process to keep improving with every run.