DTF transfers have emerged as a workflow staple for designers and apparel decorators seeking bold, durable prints with fewer setup hurdles. Direct-to-film (DTF) transfers offer a versatile alternative to traditional screen printing and heat transfer methods, enabling DTF printing of intricate artwork with vibrant color. The goal of this guide is to share practical design tips that maximize visual impact while ensuring the final product lasts wash after wash. Whether you design a single tee or build a small catalog, the core ideas help you craft eye-catching art and navigate common DTF transfer challenges. Understanding color management, artwork preparation, image resolution, and substrate compatibility sets a solid foundation for durable prints on a variety of fabrics.
Another way to describe this approach is film-based garment printing, where artwork is inked onto a specialized carrier and applied with heat. This method, often referred to as direct-to-film transfer technology, blends digital design freedom with durable adhesion to fabrics. Because the process preserves detail and color, it pairs well with bold typography, gradients, and layered artwork across apparel and accessories. Understanding how to optimize artwork for film transfers—such as separations, bleed, and substrate compatibility—helps designers deliver professional, long-lasting results.
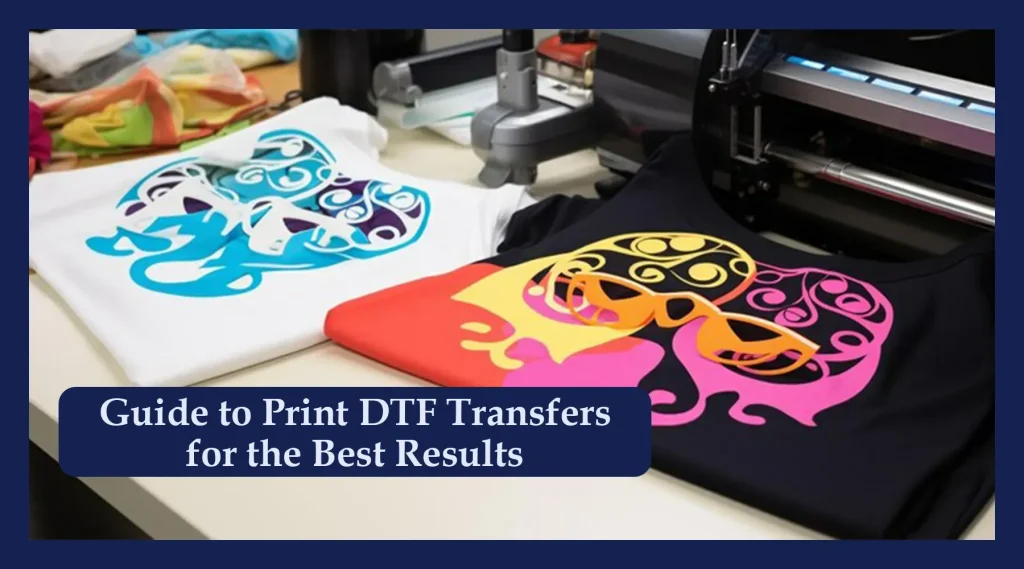
DTF Transfers and Design Tips: Crafting Durable Prints
DTF transfers offer a versatile workflow for designers who want bold, durable prints with fewer setup hurdles. By pairing thoughtful design tips with the capabilities of direct-to-film printing, you can create artwork that transfers cleanly to a wide range of fabrics, while maintaining edge definition and color vibrancy that lasts wash after wash. This approach emphasizes a finish that looks professional from first wear to repeated laundering.
To maximize impact, design with the printing process in mind. Subtle halftones, clean edge lines, and clear color separations translate into crisp results on fabric, especially when combined with proper bleed and artwork sharpening in prepress. By preparing artwork with dedicated channels for white ink when needed, you can preserve contrast on dark garments and ensure color fidelity across sizes and garment types.
Plan the layout for balance and legibility. Consider how a bold central motif interacts with secondary elements and negative space, and mock up the design on a real garment to anticipate how the print sits in real-world wear. A well-planned layout reduces reprints and helps you deliver durable prints that maintain impact after multiple washes.
DTF Transfers Color Management: From Screen to Garment
Color management is the bridge between digital design and the finished DTF transfers output. Use calibrated monitors and printing profiles, and work in a wide color space (such as Adobe RGB) when possible to minimize color shifts between what you see on screen and what prints on fabric. A consistent color workflow supports durable prints by preserving color integrity across wash cycles.
Proofing with fabric swatches is essential for gradient blends and fine detail. Generate proofs that mimic the fabric color and texture you plan to print on, then compare to your on-screen preview and adjust color channels or separations accordingly. This careful approach reduces surprises in production and helps your results stay true to the original design.
Maintain stable text color and avoid oversaturation that can bleed. By locking in a printing profile early and sticking to it through production, you enhance repeatability and reduce the likelihood of costly reprints.
White Ink Strategies for DTF Transfers
White ink is often essential when printing on dark fabrics to preserve contrast and legibility. In DTF designs, plan whether white will act as a base layer or as an accent, and test layering on the chosen fabric to avoid cracking, flaking, or stiffness. Proper white ink handling helps maintain vibrancy of color layers and extends the life of the print.
Strategic use of white ink also supports accessibility and readability of small text and fine details. Layer white ink under bold colors to boost brightness on black or navy garments, and consider curing practices to ensure a robust underbase without compromising fabric feel. Validate results with a controlled set of test garments.
Document your white ink workflow so you can reproduce consistent results across runs, fabrics, and colors. This reduces variability and supports durable prints by maintaining color contrast after repeated washing.
Artwork Preparation for DTF Transfers: Resolution, Bleed, and Edge Quality
Start with high-resolution artwork suitable for DTF transfers. A 300 DPI baseline is a reliable standard for raster artwork, while vector-based files (logos and text) can scale without losing edge sharpness. Include a small bleed around the design to prevent white gaps if there’s slight misalignment during transfer, ensuring the final look is intentional across shirt sizes.
Edge quality and typography matter. Use fonts with robust letterforms and convert text to outlines or maintain high-resolution text to avoid font substitution during production. Prepare clean color separations and ensure each channel is clearly labeled so your production team can reproduce the artwork reliably and maintain crisp edges on the final print.
Organize your file with clearly named layers and proofs that reflect the final garment. Maintain separate channels for each color, including a dedicated white ink channel if needed, and test proof prints that mimic fabric texture to streamline the workflow from design to finished garment.
Fabric Compatibility and Production Workflow for Durable DTF Transfers
Understanding fabric and substrate compatibility is critical for consistent results with DTF transfers. Smooth, even surfaces produce the cleanest edges, while textured or highly stretchy fabrics can challenge adhesion and edge retention. Whenever possible, test a swatch before running a full batch to validate color, texture, and durability on the chosen fabric.
Plan a robust production workflow from design to finished garment to reduce reprints. Start with organized artwork, proceed to printer setup and transfer film handling, then apply heat with calibrated temperature, pressure, and dwell time. Following best practices for curing and post-press finishing helps ensure durable prints that resist cracking and fading through many wash cycles.
Address common challenges with proactive checks: color shifts, white ink inconsistencies, and edge purling or cracking. By validating profiles, ensuring proper curing, and adjusting substrate compatibility, you can minimize surprises and achieve repeatable results across different garment types and market segments.
Frequently Asked Questions
What are DTF transfers, and why are they a strong option for durable prints on fabric?
DTF transfers are films printed with your artwork that are heat-pressed onto fabric. They deliver high color detail with a wide color gamut and produce durable prints that withstand repeated washes, making them a strong alternative to traditional screen printing and heat transfer methods. This approach works across a broad range of fabrics with fewer setup hurdles.
What design tips should I follow to optimize DTF printing results?
Design tips for DTF printing include using high-resolution artwork (300 DPI) and vector text where possible, planning color management early to align screen and print colors, using white ink strategically on dark fabrics, and ensuring clean edge lines with adequate bleed to prevent gaps.
How should I prepare artwork for DTF transfers to ensure sharp edges and accurate colors?
Prepare artwork for DTF transfers by keeping layered files with separate color channels, converting fonts to outlines, ensuring edge-crisp lines, verifying color profiles, and including bleed. Proof on the actual fabric whenever possible to anticipate color and alignment before production.
How does color management influence the durability and vibrancy of DTF transfers?
A color-managed workflow helps ensure the colors you see on screen match the final print, improving vibrancy and reducing surprises after washing. Proper color management supports durable prints by preventing color shifts and maintaining edge clarity across multiple washes.
What fabrics and substrates work best with DTF transfers for durability and color fidelity?
DTF transfers work best on smooth, even fabrics. Always test on fabric swatches first and avoid very textured or highly stretchy materials that can distort the transfer edge; choose fabrics that are compatible with the transfer film and adhesive to maximize durability and color fidelity.
| Aspect | Key Points |
|---|---|
| DTF Transfers Overview | Direct-to-film transfers provide bold, durable prints printed on a moisture-wicking film, bonded to fabric with heat and pressure; suitable for complex artwork and wide color gamut; versatile across fabrics. |
| Design Goals | Emphasize color management, proper artwork preparation, correct image resolution, and substrate compatibility to achieve professional, long-lasting results; plan white ink usage. |
| Resolution & Canvas | Use high-resolution images; 300 DPI baseline; vector artwork scales without quality loss for clean edges on large prints. |
| Color Management | Work in wide color spaces (e.g., Adobe RGB); convert to printing profile before output; ensure black text is solid; avoid oversaturated fills that bleed. |
| Edge Quality & Typography | Choose legible fonts; avoid thin strokes; convert text to outlines or use high-res text to prevent substitution; maintain crisp edges. |
| White Ink Strategy | White ink is essential on dark fabrics; plan placement; use as base layer or accent; test on fabric to prevent cracking or flaking. |
| Artwork Prep & Bleed | Clean separations with separate color channels; include bleed area to accommodate misalignment and prevent white gaps. |
| Garment & Substrate | DTF works on many fabrics but performs best on smooth, even surfaces; avoid textured or highly stretchable fabrics; test with a swatch. |
| Layout for Impact | Consider garment real estate: bold central designs are classic; all-over or multi-area layouts can maximize impact; test with mockups. |
| Color Proofing | Use a color-managed workflow; proofs should mimic fabric color/texture to predict onscreen-to-fabric results. |
| Durability & Heat | Durability relies on correct heat press times/temps; use quality films/adhesives; keep firmware/software up to date; maintain color vibrancy. |
| Production Workflow | Step 1–5: create artwork, prepare for printing, print, heat apply, post-press finishing. |
| Troubleshooting | Address color shifts, white ink inconsistencies, edge purling/cracking, and stiffness with adjusted color management, curing, temperatures, substrates. |
| Real-World Inspiration | Bold typography paired with detailed illustrations; central focal point complemented by secondary elements to guide the eye. |
| Garment-Type Tips | T-shirts/hoodies: central motif; two-tone palette. Sportswear: high contrast; kids: bold rounded fonts; merchandise: simplify artwork and leverage negative space. |
Summary
DTF transfers empower designers to translate digital art into durable, eye-catching apparel. With bold color, broad fabric compatibility, and a streamlined workflow, DTF transfers enable versatile production for both small runs and catalogs. By applying thoughtful design tips—color management, clean separations, strategic use of white ink, and a disciplined production process—you can achieve professional, long-lasting results that endure wash after wash. Plan, test on swatches, and use mockups to ensure alignment and edge quality. When you pair careful preparation with quality materials and precise heat-press parameters, DTF transfers deliver outputs that keep their vibrancy from day one through many launderings.